
Last updated November 22, 2026
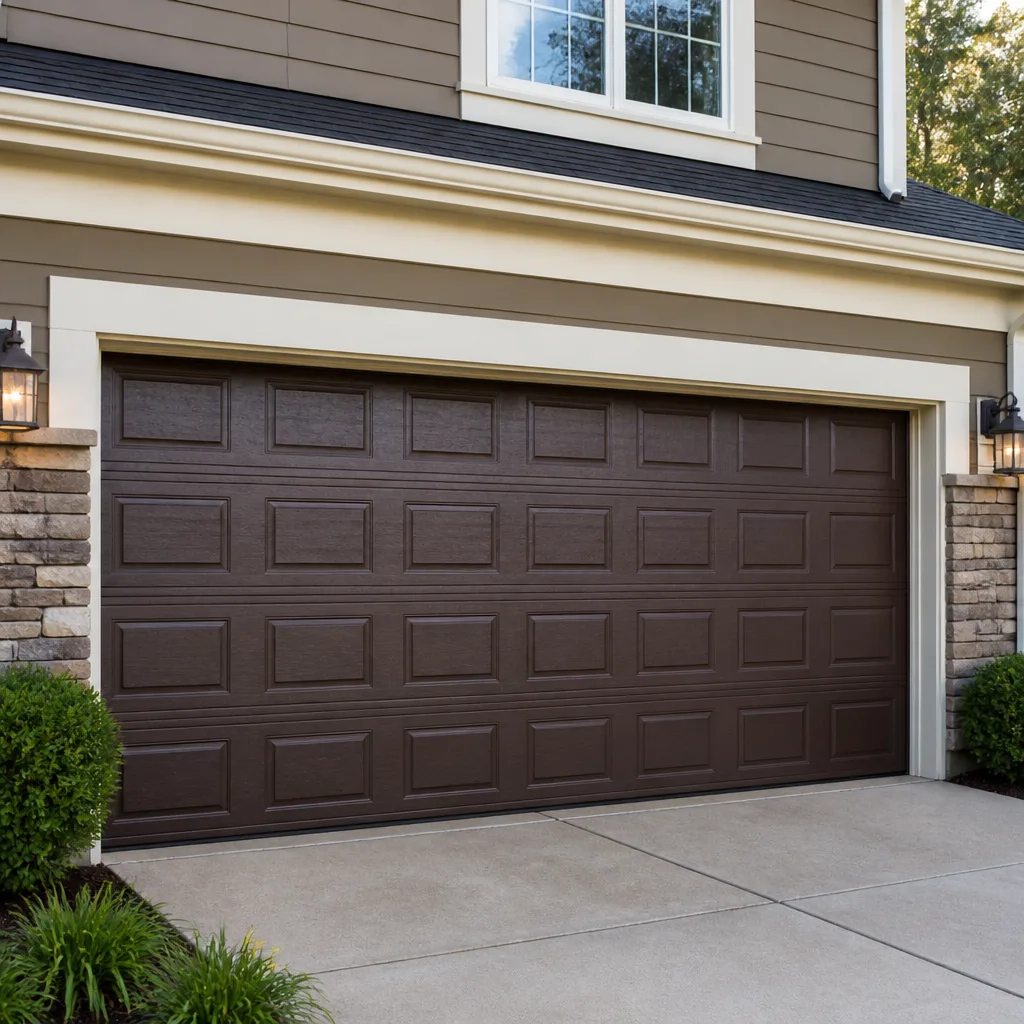 Raised-panel steel
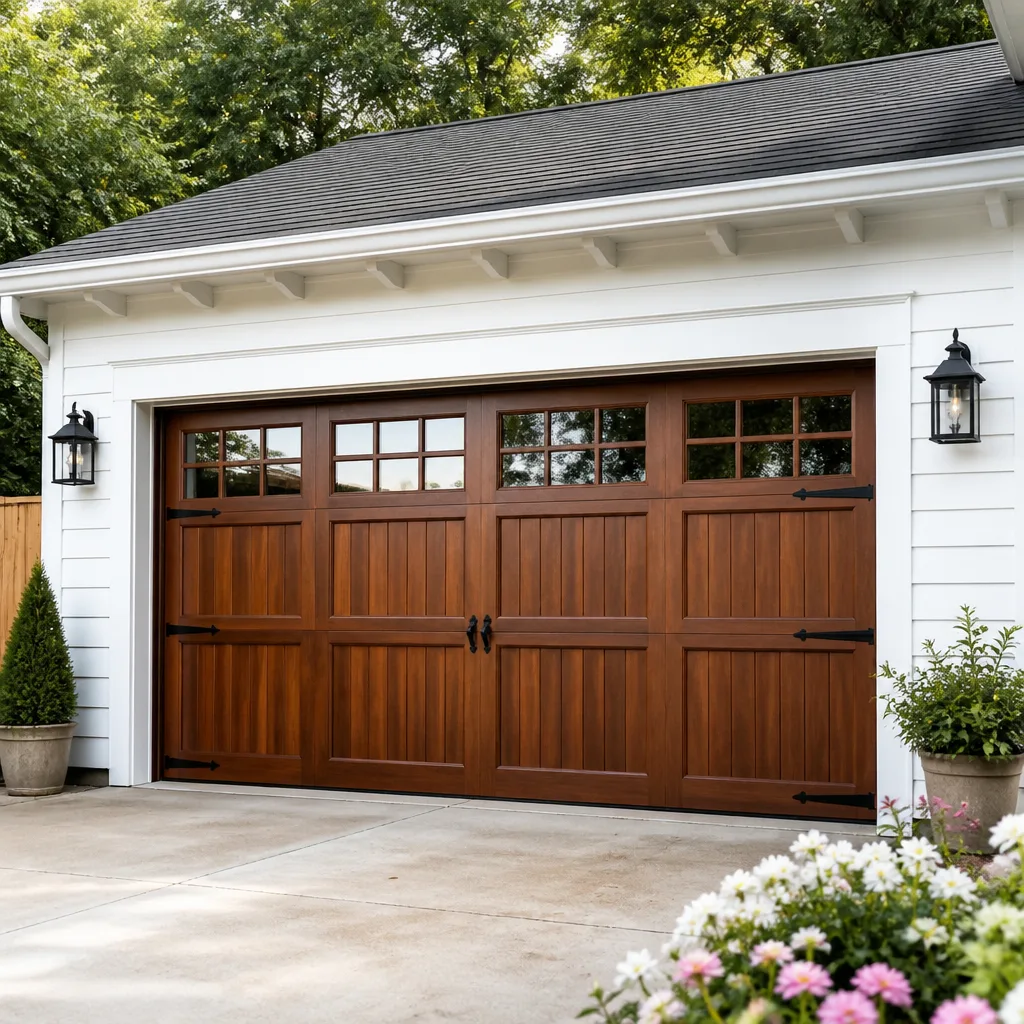 Carriage house
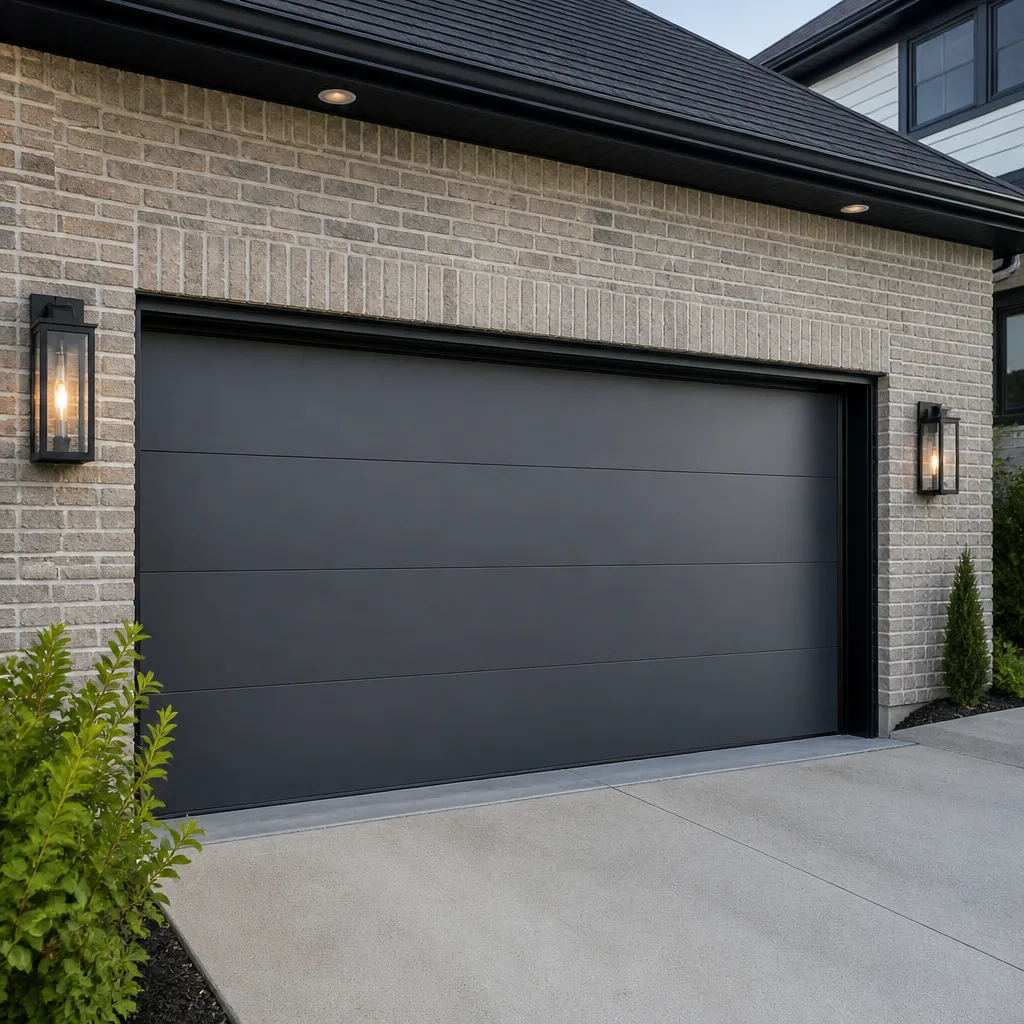 Modern flush
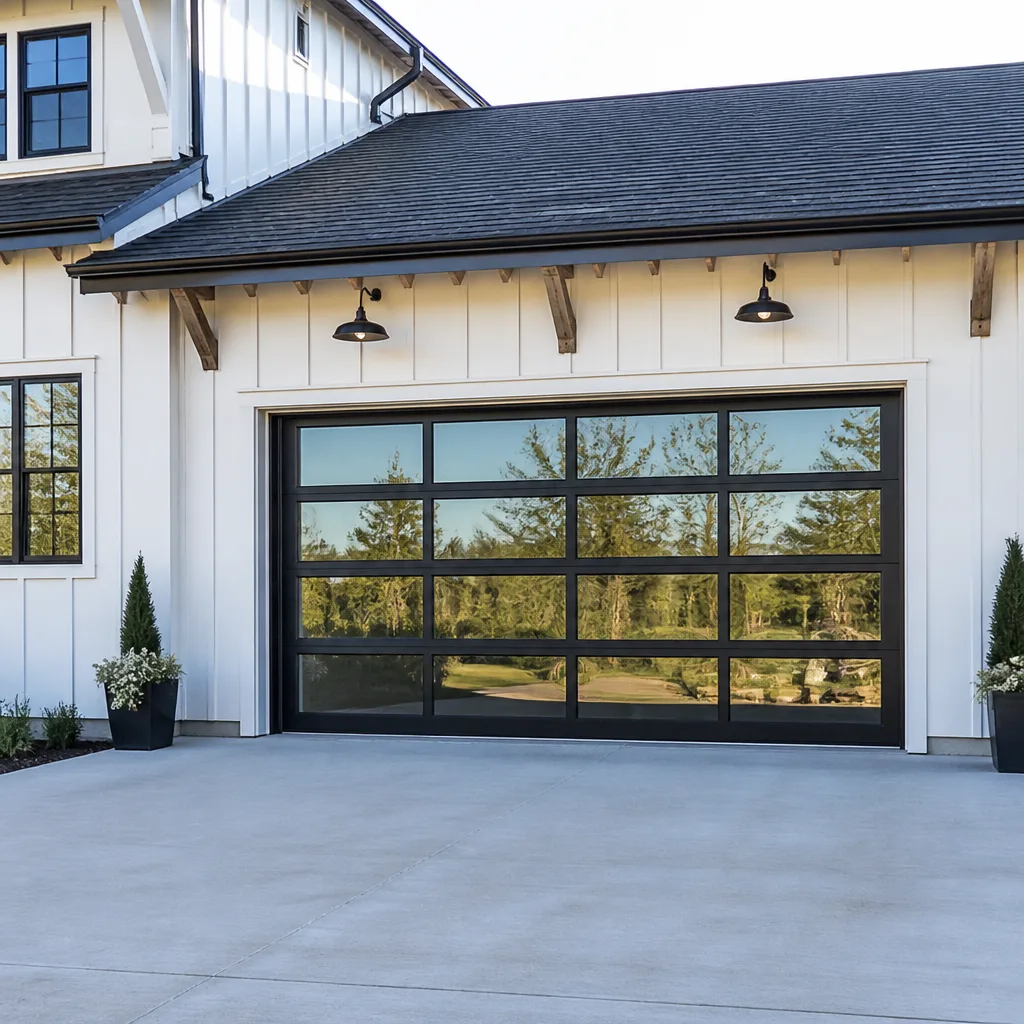 Full-view glass
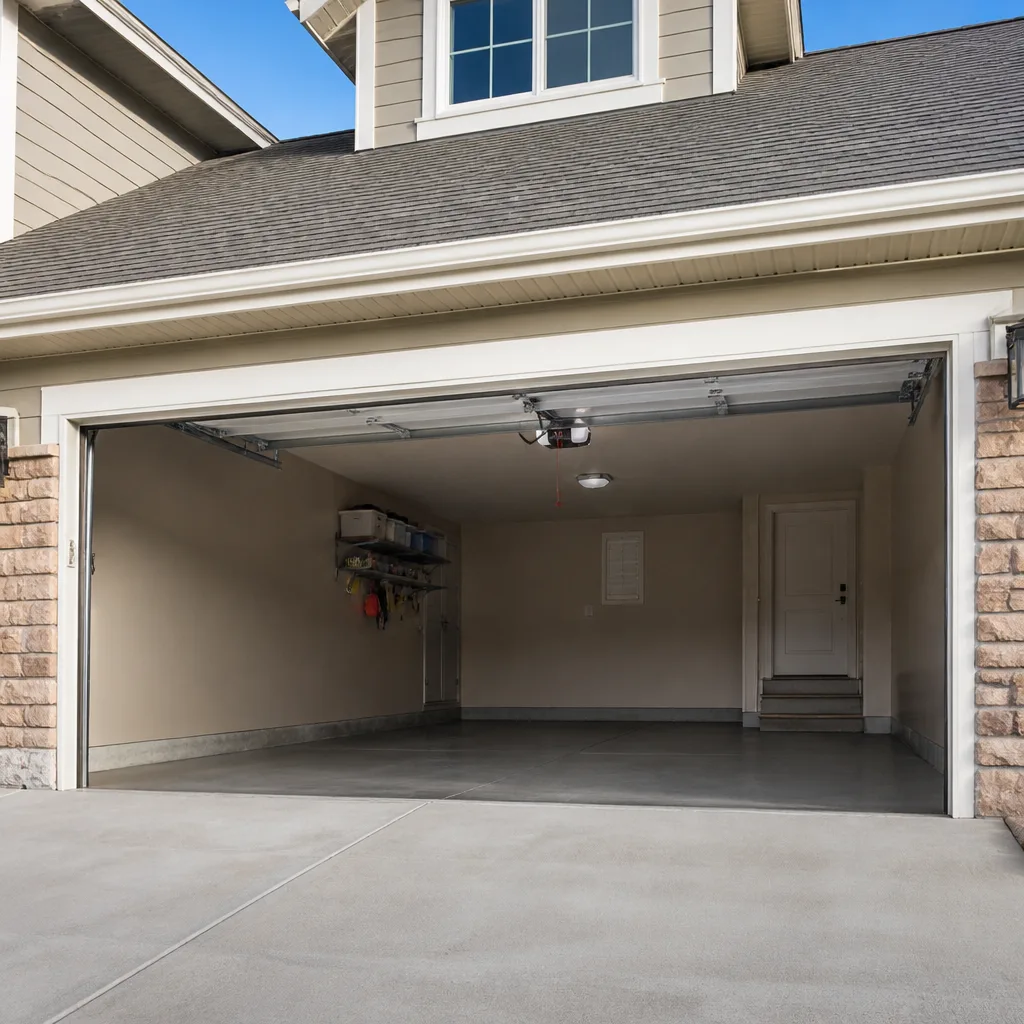 LiftMaster openers
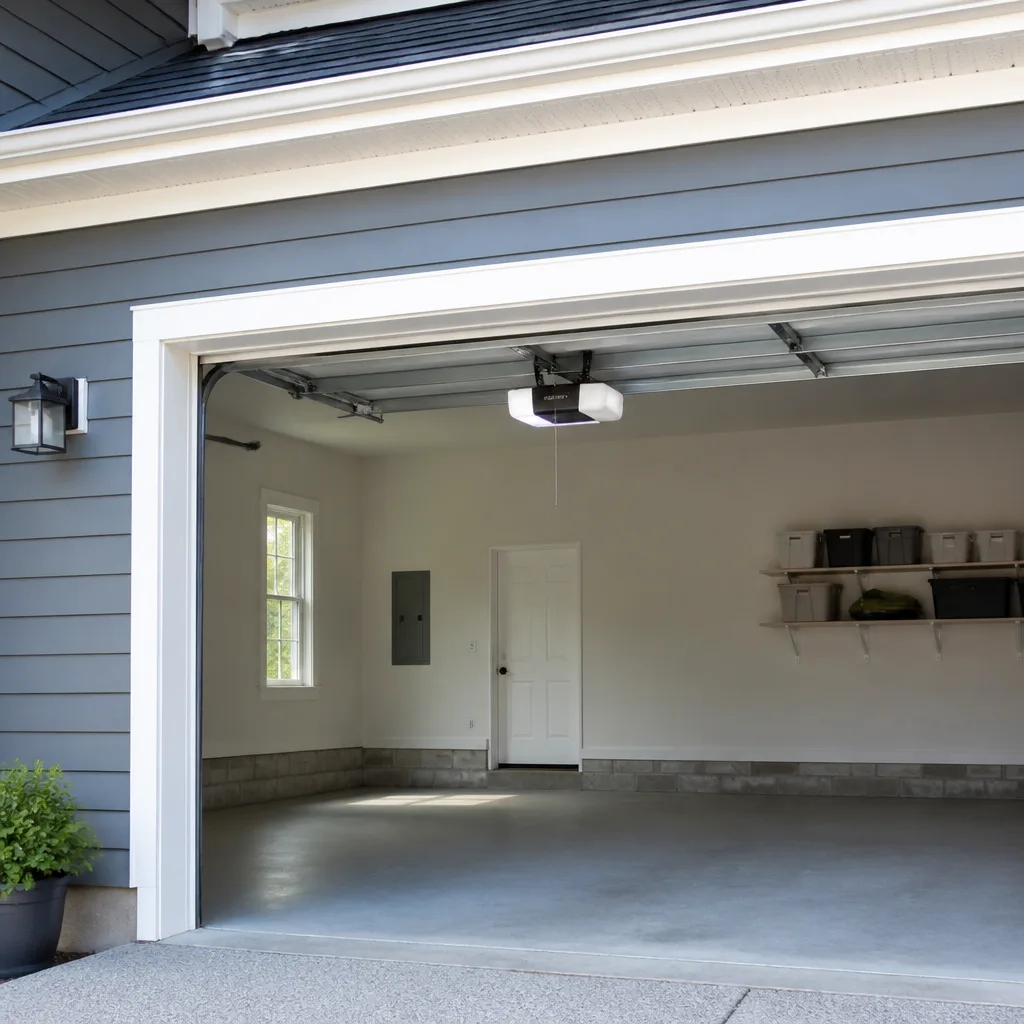 Chamberlain openers
Full 25-point door and opener safety check with every visit - springs, cables, rollers, tracks, and your LiftMaster or Chamberlain opener included
You get a price before we start. It does not change when the pro arrives.
Get your free estimateGarage Door Repair Maintenance Checklist for Lynn Homeowners
A loose bolt on a bottom bracket isn’t a maintenance item – it’s a cable failure waiting to happen. Most checklists don’t tell you the difference. They hand you a vague list (“lubricate moving parts,” “check hardware”) without explaining what a failing part actually looks like, so homeowners either skip the work entirely or tighten the wrong thing and make it worse. This guide is built the other way around: around what a trained eye observes during an inspection, and how to tell cosmetic wear from the structural warning signs that mean stop and call someone. You’ll get a quarterly and annual schedule with real time estimates, specific lubricants that hold up to Lynn’s humid summers and icy winters, force and auto-reverse test steps for the openers common in Lynn homes, and a simple way to document a problem before a technician arrives. Work through it and your door will run quieter, last longer, and fail less often at the worst possible moment.
Quick Answer
A garage door maintenance checklist for Lynn homeowners should cover four things every quarter – lubrication, balance, safety-reverse testing, and a hardware and roller inspection – plus an annual deep check of springs, cables, and track alignment by a trained technician. Most quarterly tasks take 15 to 20 minutes. The single most important habit is knowing the difference between cosmetic wear (a scuffed panel, a squeaky hinge) and structural warning signs (a frayed cable, a gap in a spring coil, a bent track), because only the second group means stop using the door and call a professional.
Styles & brands we work with
- Raised-panel steel
- Carriage house
- Modern flush
- Full-view glass
- LiftMaster openers
- Chamberlain openers
Table of Contents
- Why a Checklist Built on Warning Signs Beats a Generic One
- Quarterly Tasks: The 20-Minute Routine
- Lubrication Points and Products for Lynn’s Climate
- Testing Force and Auto-Reverse on Common Lynn Openers
- Annual Tasks and What a Technician Checks
- Cosmetic Wear vs. Structural Warning Signs
- What to Document Before You Call
- When to Call a Professional
Why a Checklist Built on Warning Signs Beats a Generic One
Here’s the problem with the maintenance list you’ll find on most garage door sites: it’s written to be safe and easy, so it lumps every small imperfection into the same category. A rusty hinge and a cable with three broken strands get equal billing. In our experience, that’s backwards. What actually keeps a door running is a homeowner who knows which observations are “keep an eye on it” and which are “stop now.”
That distinction matters more in Lynn than in a lot of places, because our doors work harder than they look. Summer humidity swells wooden panels and works into every pivot and roller, then winter cold contracts the metal and stiffens the lubricant. A door that runs fine in July can stiffen noticeably in January, and that extra resistance puts strain on the opener and the springs. By the time something breaks, the warning signs were usually visible for months – they just weren’t recognized.
At Lynn Garage Door Repair Pros we work on doors and openers from all eight major brands, and the failure pattern we see most isn’t a single dramatic break. It’s a slow accumulation of small, ignored wear. A checklist that helps you spot that accumulation early is worth more than a page of generic tasks.
So this guide is organized around three questions for every inspection point: What am I looking at? What does normal look like? What does a problem look like? Answer those and the tasks become something you can actually do and trust. Skip to the sections that matter for your situation, or read straight through – the quarterly routine and the annual deep check are the backbone.
Quarterly Tasks: The 20-Minute Routine
The quarterly routine is the part you can own. It takes about 15 to 20 minutes and it catches most problems while they’re still cheap to fix. Do it every three months – mark a date on the calendar, because “when I remember” becomes “never.”
- Visual sweep (2 minutes). With the door closed, scan the panels, hinges, rollers, springs, cables, and track. You’re not fixing anything yet – just noting anything that looks off. A phone photo of each section helps you compare next quarter.
- Listen to the door (1 minute). Run it up and down and listen. A smooth door is quiet. Grinding, squealing, or a bang at the top of travel is your cue to look closer. Noise is the cheapest diagnostic you have.
- Balance test (3 minutes). Disconnect the opener (pull the release handle), lift the door halfway, and let go. A balanced door holds its position. A door that drifts down or springs up is out of balance – that’s a spring or tension issue, and it’s a call-a-pro item.
- Safety-reverse test (2 minutes). With the door connected and open, place a small object in the door’s path and close it. The door should reverse on contact. We cover the specifics below.
- Lubrication (5 to 8 minutes). Apply the right lubricant to the right points. Section below covers what to use and what to skip.
- Hardware check (3 minutes). Gently test hinge and bracket bolts for looseness by hand. Do not tighten anything on a loaded spring, cable, or the bottom bracket – those carry dangerous tension and belong to a technician.
That’s the whole routine. If a task raises a flag, stop and read the structural vs. cosmetic section before doing anything else. When a balance or reverse test fails in Lynn, it usually means the door needs a professional look within the week rather than months – a stiff door in cold weather only gets stiffer.
Lubrication Points and Products for Lynn’s Climate
This is where generic checklists do the most damage, because “lubricate moving parts” tells you nothing about what to use or what to avoid. The wrong product attracts grit, gums up in cold, and can actually make a door worse. In Lynn, a door faces humid summers that encourage rust and icy winters that thicken petroleum-based grease, so the products that work here are the ones that stay functional across both.
What to use
- Silicone spray or a purpose-made garage door lubricant on hinges, rollers, and the pivot points. These stay flexible in cold weather and don’t collect as much dust as grease.
- Lithium grease (white lithium) on the opener’s rail, the drive screw, and metal-to-metal contact points that see heavy movement. A light coat is enough; more is not better.
- A dry silicone or graphite product on the lock and any keyed cylinder, so you’re not introducing a wet product that can freeze or grab dust.
What to use where
- Spray each hinge pivot with silicone spray – a two-second burst is plenty.
- Lubricate the roller stems, not the roller wheels. The wheel is supposed to roll; lubing the track itself makes it slip.
- Run a thin bead of lithium grease along the opener rail and the screw or chain path, then cycle the door to spread it.
- Wipe up drips and overspray immediately – pooled product attracts grit and stains panels.
What to avoid
Skip heavy axle grease, WD-40 as a lubricant (it’s a penetrant, not a lasting lube), and anything that goes on wet and stays wet. Never spray the springs. Spring coils are under dangerous tension and lubricating them is unnecessary – if a spring is noisy, it’s a technician’s inspection, not a lubrication job.
Seasonal note for Lynn
Do a fresh lubrication pass in late fall before the first hard freeze and again in spring after the thaw. The fall pass matters most: a hinge that’s dry in October can seize by January, and a seized hinge transfers load to the opener and springs. That single seasonal habit prevents more winter repair calls than any other item on this list.
Testing Force and Auto-Reverse on Common Lynn Openers
The safety-reverse system is the most important safety feature on your door, and it’s also the easiest to test. It takes two minutes and it should be checked monthly. Openers from LiftMaster, Chamberlain, Craftsman, and Genie – the brands common in Lynn garages – all have both a contact reversal and a force setting, and both are adjustable from the opener head or a wall control.
The contact reverse test (do this monthly)
- With the door fully open, place a small object – a roll of tape or a piece of the packaging your latest delivery came in – on the floor in the door’s path.
- Press the close button.
- When the door contacts the object, it must stop and reverse.
- If it doesn’t reverse on contact, stop using the opener until it’s adjusted or repaired.
The force setting
On most modern openers there’s a “force” or “sensitivity” adjustment, usually a dial or a set of up/down buttons on the back of the opener head or on the wall control. The correct setting is the lowest force that reliably closes the door without false reversals. Too high a force setting and the door can push through an obstruction; too low and it reverses on its own for no reason. Read your model’s manual for the exact procedure, because it varies by brand – a LiftMaster adjustment is done differently from a Genie, and a Chamberlain varies between older and newer units.
The photo-eye test
The small sensors at the bottom of the track should stop and reverse the door if anything passes between them while it’s closing. Wipe the lenses clean and check that the indicator lights on each unit are steady. A misaligned or dirty eye is the most common cause of a door that “won’t close” – it’s also the easiest thing to fix, and doing it yourself is safe. If the door closes with the button held but won’t close on a normal press, one of these two systems is the reason.
What to leave alone: the actual adjustment of a force setting or reverse travel beyond the basics. If the door isn’t reversing properly, have a technician set it. A mis-set reversing mechanism is a genuine safety hazard, and the fix is quick when someone with the right tools does it. Call (844) 542-3157 if you’d rather have it checked than adjusted yourself – estimates are free.
Annual Tasks and What a Technician Checks
The annual deep check is where a trained technician earns their keep, because it covers components a homeowner shouldn’t touch. If your spring repair history is unclear or your door is over a decade old, plan on an annual professional inspection. Here’s what it covers and roughly how long each part takes.
Springs (15 to 20 minutes for a thorough inspection)
A technician measures spring condition and tension, looks for gaps in torsion spring coils, and checks the winding bars and set screws. Springs carry dangerous tension. If a spring is broken or sagging, the door should not be used until it’s replaced. This is one of the most demanding jobs in the trade, and it’s one many general contractors won’t touch. We handle garage door spring repair in-house for exactly that reason – a spring failure is not a job to hand to someone who only repairs them occasionally.
Cables (5 to 10 minutes)
Cables fray, and a frayed cable can snap. A technician runs a gloved hand along each cable looking for broken strands, kinks, or rust, and checks the bottom bracket. A loose or damaged bottom bracket is a cable failure waiting to happen – it’s the reason this guide opened where it did. Never tighten the bottom bracket yourself; it sits under spring tension.
Track and alignment (10 to 15 minutes)
The track is checked for bowing, dents, and gaps between sections, and the door is adjusted for smooth travel. A door that shakes on the way up is usually a track or roller alignment issue, and catching it early is far cheaper than waiting for the door to jump the track.
Rollers and hinges (10 minutes)
Rollers that are flat-spotted, chipped, or worn will grind and add strain. Replacing them on schedule is a lot cheaper than the opener or spring failure that worn rollers can cause.
Opener and drive (10 minutes)
Belt, chain, or screw drive is inspected for slack and wear. If the opener’s control board is fine and the drive only needs a repair, that’s a repair – not a replacement. If your opener is on the fritz, garage door opener repair applies the right fix on the dominant brands rather than selling you a new unit. Most opener problems we see are the kind that come from a loose chain or a tired gear, not from an opener that needs replacing.
Weather seal (5 minutes)
The bottom seal wears faster in Lynn’s wet winters. A cracked or gaping bottom seal lets in water and cold, and a loose weather strip rattles in wind. A cheap part, a quick fix, and a meaningful difference in how much snow and water gets under the door.
Cosmetic Wear vs. Structural Warning Signs
This is the heart of the guide, and the distinction most checklists skip. Not every flaw needs action. The skill is telling the two apart and knowing which one means put down the wrench and pick up the phone.
Cosmetic wear (keep an eye on it; routine fix)
- Scuffed or dented panels – looks bad, doesn’t affect operation. Cosmetic.
- Surface rust or oxidized hardware – mostly appearance, until it starts to seize the hinge. Clean it and re-lubricate.
- A squeaky hinge – add a little lubricant and recheck next quarter.
- A worn bottom seal or rattling weather strip – replace it, no big deal.
- A slightly uneven gap at the bottom corners – could be a seasonal shift in a wood door. Note it and watch it.
Structural warning signs (stop using the door, call a professional)
- A frayed or kinked cable – structural. A failing cable can snap and the door can drop. Stop using the door.
- A gap in a torsion spring or a spring hanging loose – structural. Torsion failure is dangerous. Never use the door with a broken spring.
- A bent, bowed, or separated track – structural. The door can jump the track and damage panels or injure someone.
- A door that shakes or shudders hard on the way up – usually track or roller wear, but it belongs to a technician before it escalates.
- Bolts on the bottom bracket that are loose or missing – structural, and dangerous. Do not tighten them yourself.
- A door that won’t stay up after the disconnect test – structural. Springs or balance.
The bottom bracket and the springs and cables are the high-tension parts. This is the part of the checklist that matters most, because the difference between a cosmetic flaw and a structural one is the difference between “add it to the list” and “call today.” If you’re not sure which group a finding belongs to, that’s a professional’s call, and it’s a reasonable reason to get garage door repair lined up. Lynn homeowners shouldn’t be guessing at this – the damage a snapped cable can do is worse than the call itself.
What to Document Before You Call
This section will save you time and money, because a clear description of the problem means the technician can arrive with the right part and skip the guesswork. Before you dial, gather four things. The whole exercise takes about ten minutes at the door and a couple of photos.
- Photos. One wide shot of the whole door from outside and inside, plus close-ups of whatever looks wrong – a spring, a track section, a roller, the opener head. Photos let a technician pre-assess and tell you whether this is a stop-using-door situation.
- The symptoms in plain terms. Write down what it does: “grinds at about halfway up,” “won’t close when I press the button,” “reverses on its own.” Symptoms point to the system; diagnostics confirm.
- The brand and model of your door and opener. Check the label on the door and the opener head, or the manual if you still have it. LiftMaster, Chamberlain, Genie, Craftsman, and Raynor all have slightly different parts and test procedures, so knowing the brand is a head start. Write it down.
- Can you cycle it safely? Note whether the door operates at all, and whether you’ve been using it. If you’ve stopped, say so – that tells the technician a lot.
With that in hand, the call is efficient. The technician knows whether to expect a cable, a spring, or an opener issue before arriving, and the written estimate is more likely to be right the first time. If the problem turns out to be small, you’ve saved a diagnostic loop; if it’s structural, you’ve given a technician the information to plan the fix. And photographing the problem also gives you a record of the “before” condition, which is useful for any insurance question that comes up later.
Common Mistakes to Avoid
- Tightening the bottom bracket or brackets on a spring. These sit under heavy tension. Tightening the bottom bracket on a loaded door is the single most common way a homeowner gets hurt. It’s structural – leave it to a technician.
- Greasing the springs or the tracks themselves. Lubricating springs is pointless and unnecessary. Greasing the track lets the rollers slip instead of roll, which actually makes the door noisier and less stable. Lubricate the rollers’ stems and hinges, not the track face.
- Using a heavy grease on every moving part. In Lynn’s cold winters, heavy grease thickens and can make the mechanism drag. A silicone spray or purpose-made door lube stays functional in the cold; axle grease doesn’t.
- Skipping the reverse and photo-eye test. It takes two minutes, and it’s the most important safety feature on the door. A door that doesn’t reverse can injure someone in its path. Test it monthly.
- Raising the force setting to stop false reversals. If the door reverses for no reason, the fix is usually a misaligned or dirty photo-eye, not a higher force setting. Cranking up the force masks the problem and defeats the safety feature.
- Assuming a loud door is “just an old door.” Noise is the cheapest warning sign you get. Grinding means worn rollers or a dry hinge. A bang at the top of travel means the force setting or the springs need attention. Deal with noise early or it becomes a repair bill.
- Skipping the fall lubrication pass. Moving from summer to winter is when a stiff door turns into a broken part. A pass in late fall is the single best seasonal habit in this guide.
See the difference
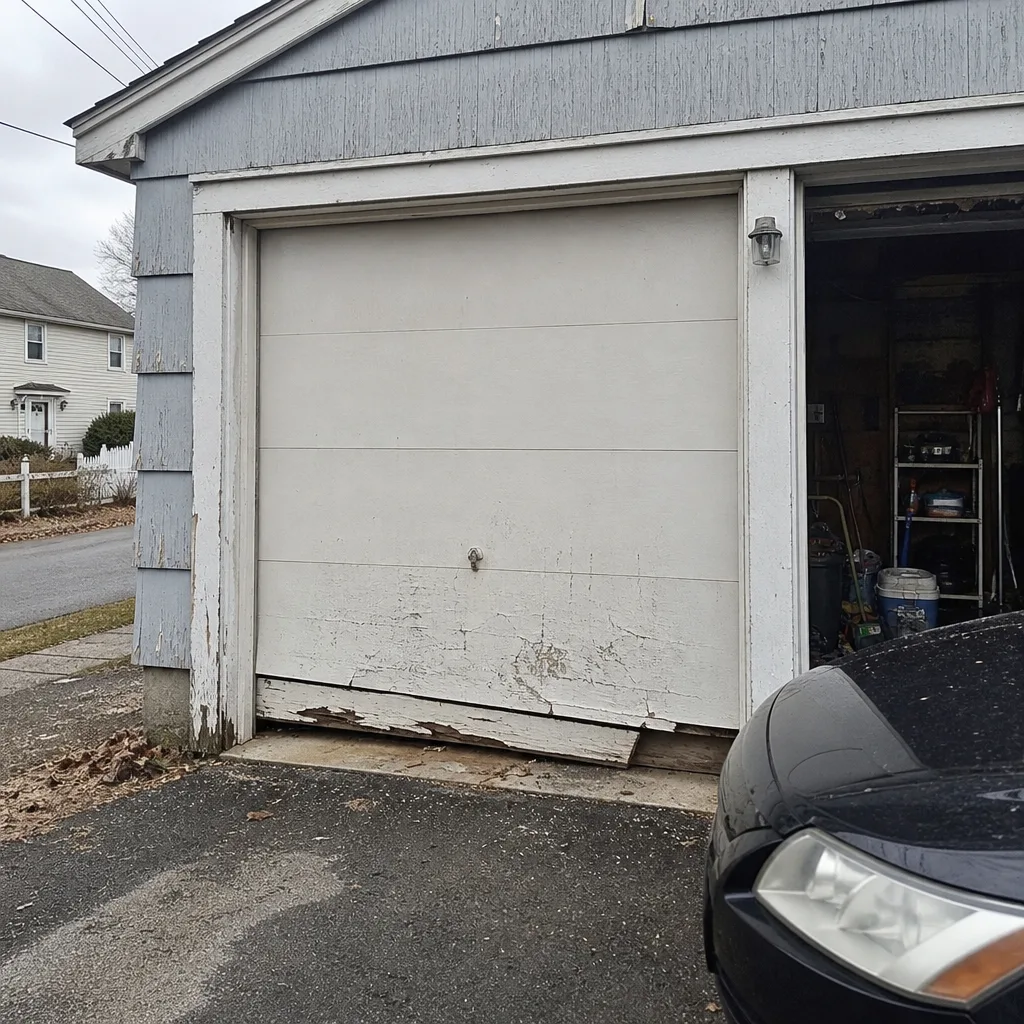 Before
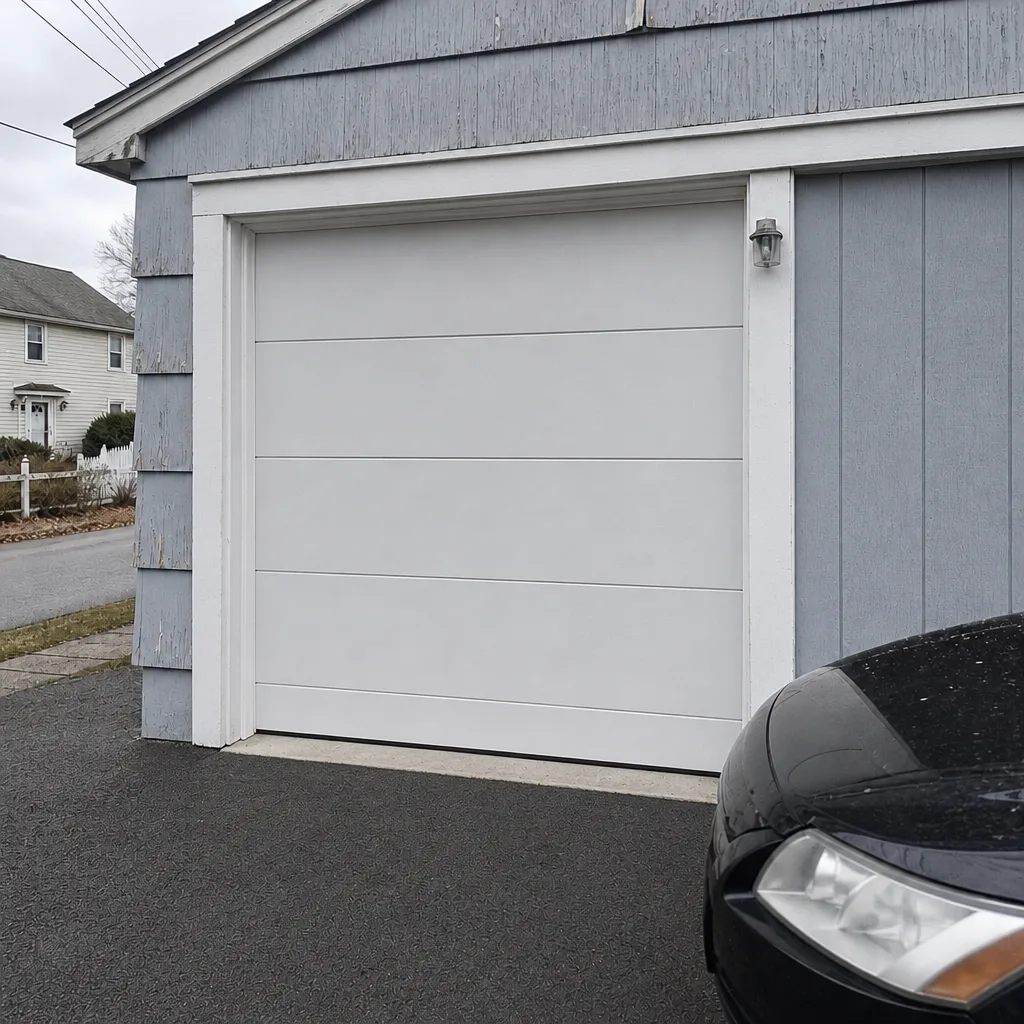 After
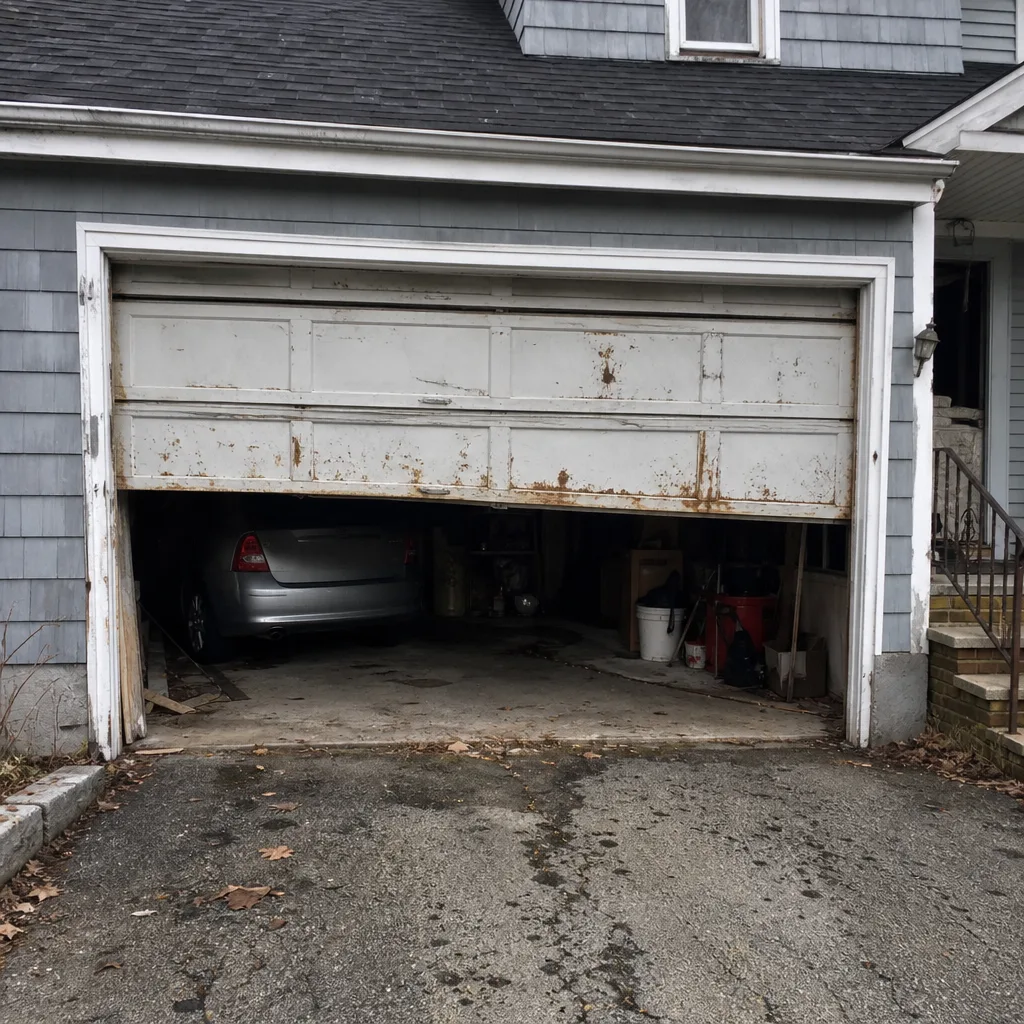 Before
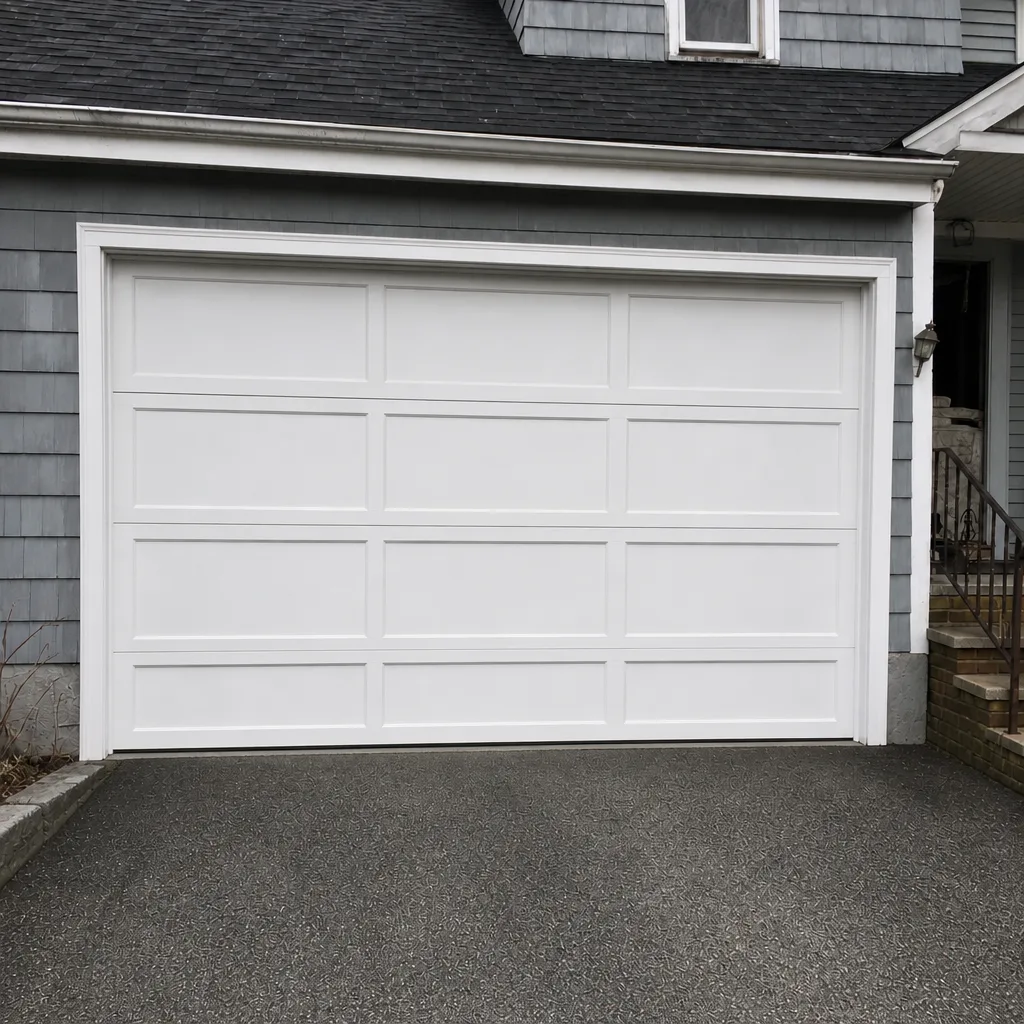 After
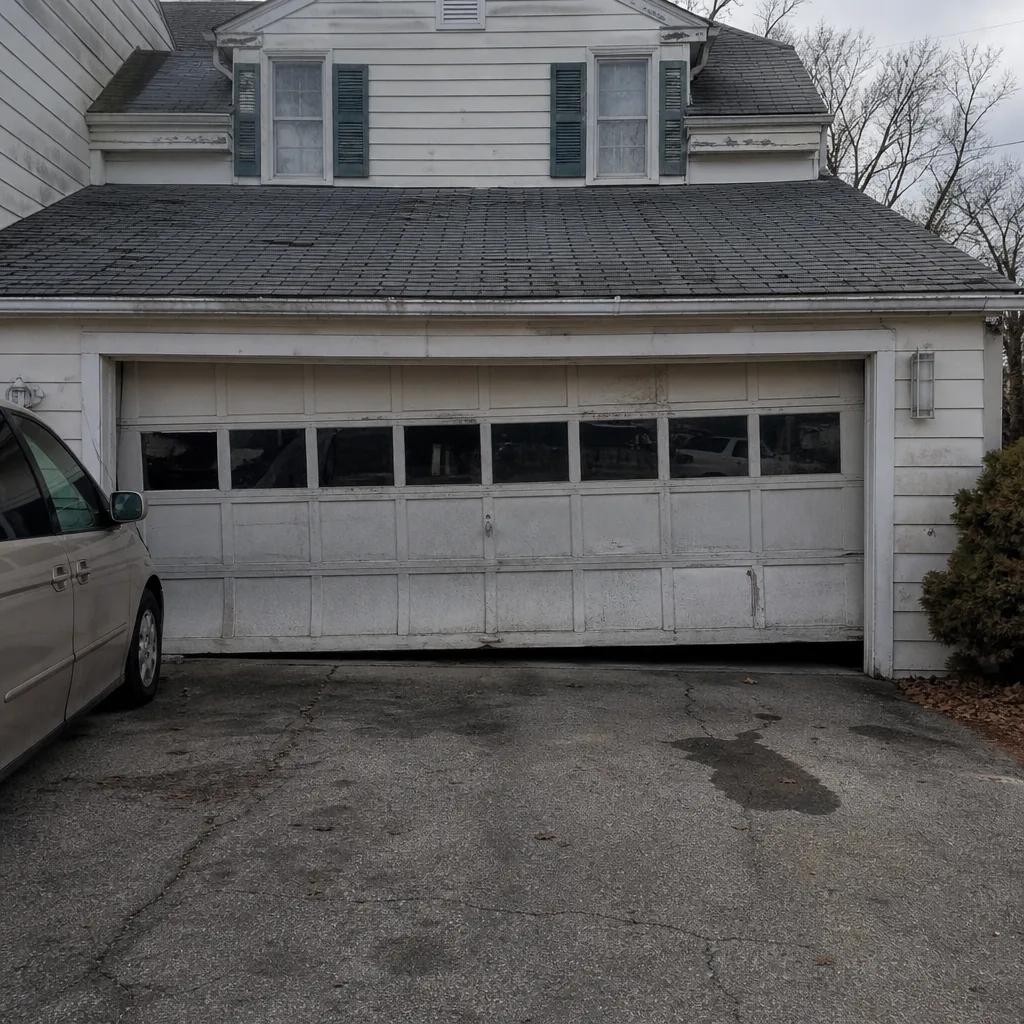 Before
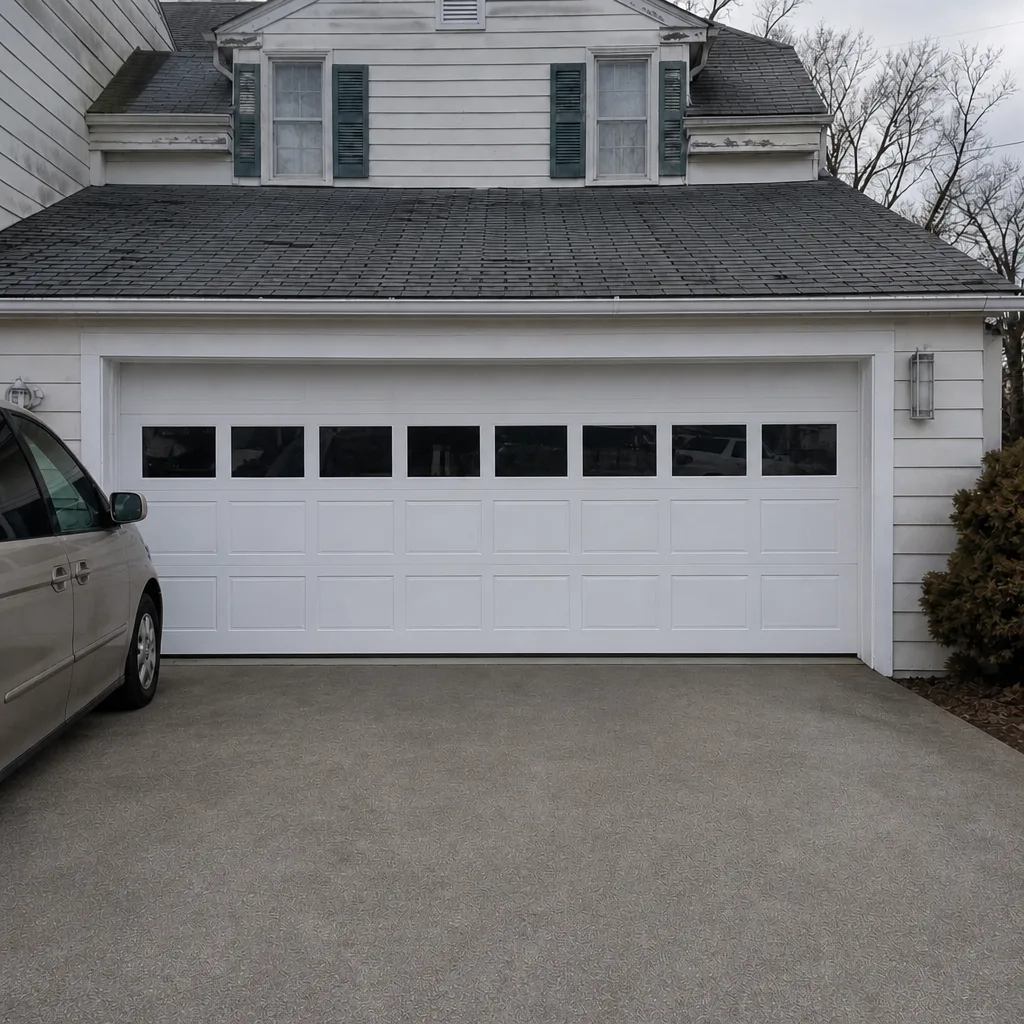 After
When to Call a Professional
Call a professional the moment you find a structural sign: a frayed or kinked cable, a broken or gapped spring, a bent or separated track, a door that won’t stay up on the balance test, or any bolt loose on the bottom bracket. Those are the cases where using the door is risky and fixing it yourself is genuinely dangerous. Call sooner if the door is stuck open – a stuck open door leaves a garage exposed. For everything else – a door that grinds, a screeching opener, an annual deep check, a seal that needs replacing – a technician is the right call for a maintenance and repair visit, not an emergency. If you’re documenting a problem, the last section tells you exactly what to have ready. Lynn Garage Door Repair Pros offers free estimates in Lynn – call (844) 542-3157. We answer 24/7, with fast dispatch from 7am to 7pm, Sunday through Friday, and same-day service on urgent repairs.
Frequently Asked Questions
Do the quarterly routine every three months – lubrication, balance test, reverse test, hardware check – and book an annual professional deep check of springs, cables, and track. In Lynn’s climate the fall lubrication pass matters most, so align one quarterly visit to late fall before the first hard freeze. The quarterly tasks take 15 to 20 minutes; the annual inspection takes a technician roughly 45 to 60 minutes.
Stop using the opener until the reverse setting is corrected, because a door that won’t reverse is a real safety hazard. A technician can adjust the contact reverse and force settings for your opener in a single visit, usually in about ten minutes of actual work. Call (844) 542-3157 to book a check – estimates are free.
Yes, you can and should lubricate the hinges, roller stems, and opener rail yourself – that’s a genuine homeowner task, and it prevents a lot of winter problems in Lynn. Don’t lubricate the springs or grease the track face, and don’t touch anything connected to a spring or cable. If a spring is noisy or the door feels rough, that’s a professional’s inspection.
Cosmetic wear is surface-level – a scuff, a rusty hinge, a worn seal – and it doesn’t affect how the door operates. Structural wear affects the moving parts under tension: a frayed cable, a broken spring, a bent track, a loose bottom bracket. Structural problems mean stop using the door and call a professional. If you’re uncertain, describe it to a technician over the phone and send a photo – that’s a fast way to get a straight answer.
The safety reverse and the photo-eye. The reverse is a monthly two-minute test: put an object in the door’s path, close it, and confirm the door reverses on contact. The photo-eye is the small sensor pair at the bottom of the track – wipe the lenses and confirm the indicator lights are steady. If the door closes with the button held but won’t close on a normal press, one of these two is usually the cause, and a technician can sort it quickly.
Repair it unless the door is badly damaged or you’re planning a full remodel – most problems, including springs, cables, tracks, and openers, are repairable, and repair is the lower-cost path. A full garage door repair visit covers the moving parts; a new door is a different project and comes with a measured, written quote rather than a same-day fix. If your door is old enough that the hardware is failing throughout, ask a technician for an honest read before you decide.
The Bottom Line
Garage door maintenance in Lynn comes down to two habits: a quarterly 20-minute routine that catches small wear early, and knowing the difference between cosmetic flaws and structural warning signs. Lubricate the right points with the right products for our humid summers and icy winters, test the reverse and photo-eye monthly, and stop using the door the moment a cable frays, a spring gaps, or a track bends. Document the problem with photos and the brand of your door and opener before you call – it makes the visit faster and the estimate more accurate. Keep the annual deep check on the calendar and most doors will run quietly year after year. When something’s beyond the checklist, call (844) 542-3157 for a free estimate – we can schedule a repair, an opener fix, a spring replacement, or a full new door installation, and we’ll quote the price before any work starts.
Written by the team at Lynn Garage Door Repair Pros.